
Our Repair Process
Our Goal for Your Repair
We are laser focused on customer satisfaction, and being transparent about the repair process is critical for our success. The more our customers understand our process, the better we can communicate as repairs move through our system.
Step 1 : Customer Drop Off
In this step we make sure we have all correct contact information, insurance or bill payer information (checks, deductibles, and pre-payments), and discuss our process with the vehicle owner. Here it is also important to address any non-related repairs that the customer wants us to check out (Buffing, extra damage, touch-ups etc.).


Step 2 : Damage Analysis
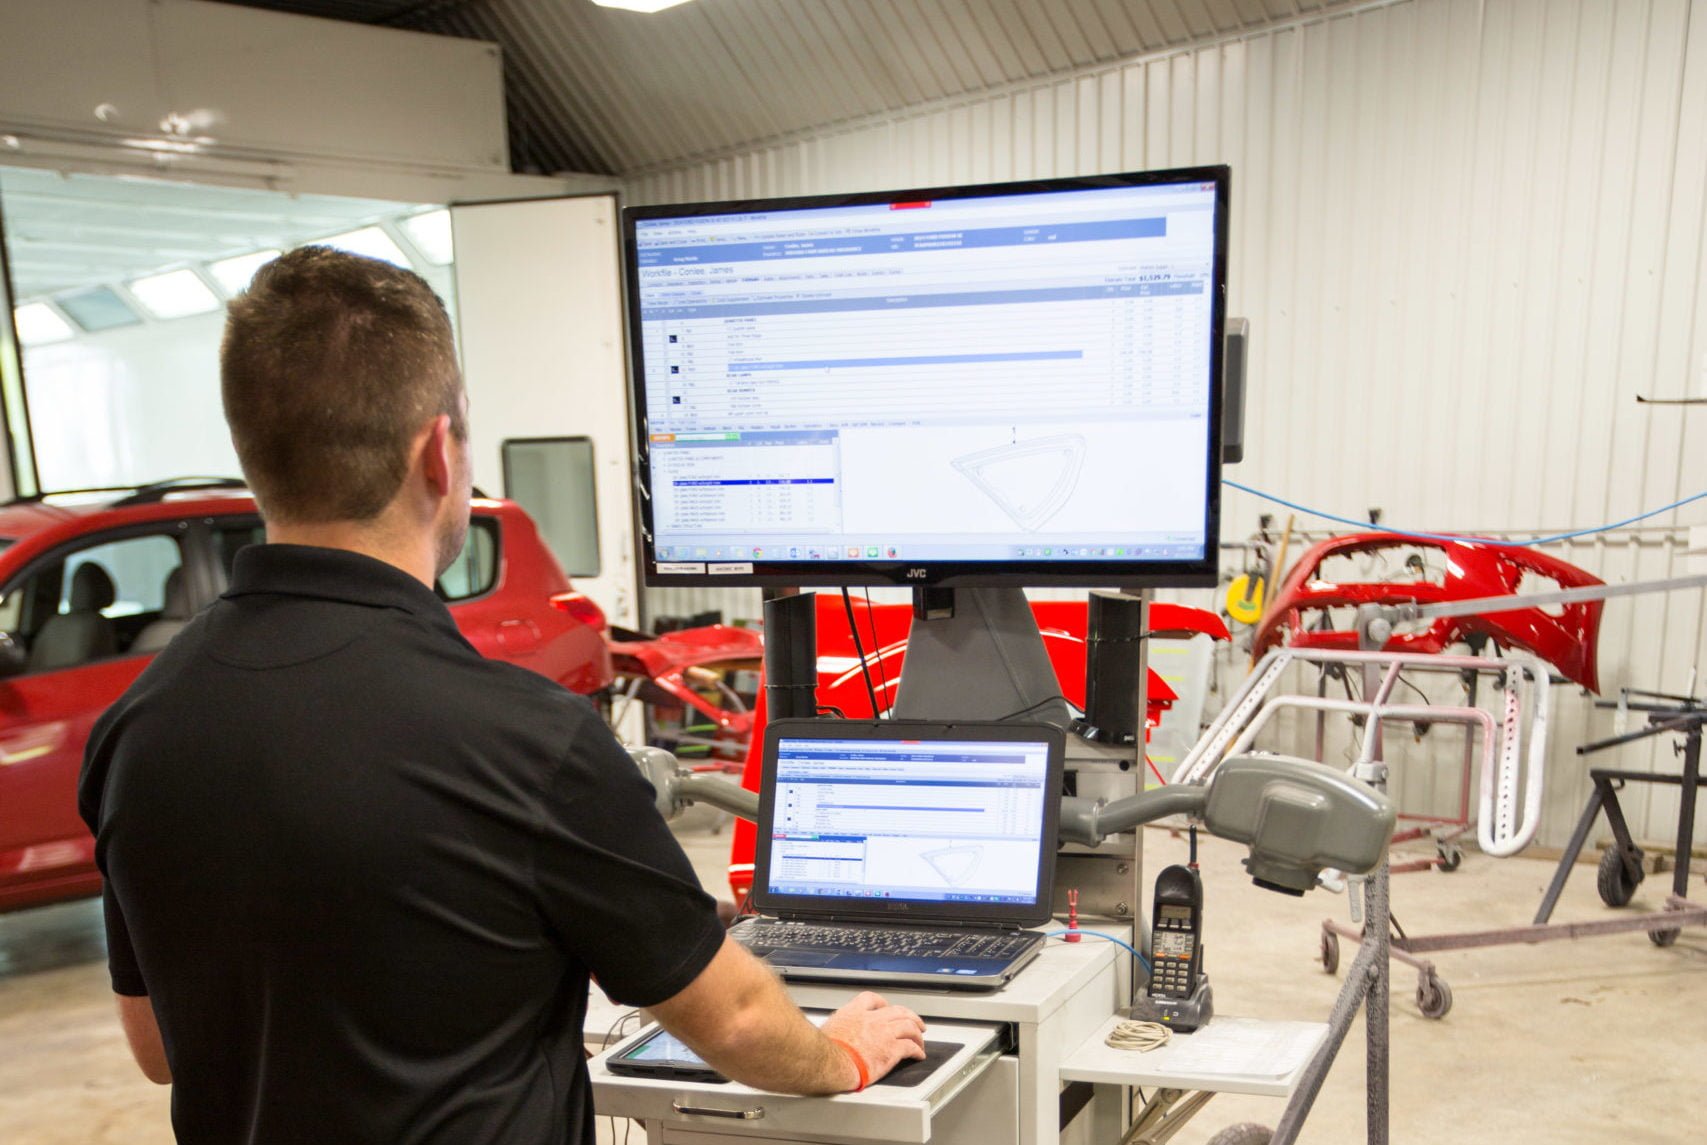
This is where we set up the repair for success. For the vehicle owner and for our team. After a pre-wash, we analyze the accident, the related and unrelated damage, and begin disassembly. Our goal here is to find 100% of the necessary parts, write a 100% complete estimate, and communicate this to all parties involved. Once all damage is noted, a Supplement is created and submitted to insurance or the customer that is paying for the repairs. Jobs waiting for insurance approval are placed “On Hold” until an agreed price has been confirmed. Parts are ordered once approved.
Step 3 : Parts Check-In
Once parts arrive they are “mirror matched” alongside the ones that are to be replaced to ensure quality and accuracy. Once the parts are accounted for, the vehicle is ready to move into production.
Step 4 : Body/Mechanical Repairs
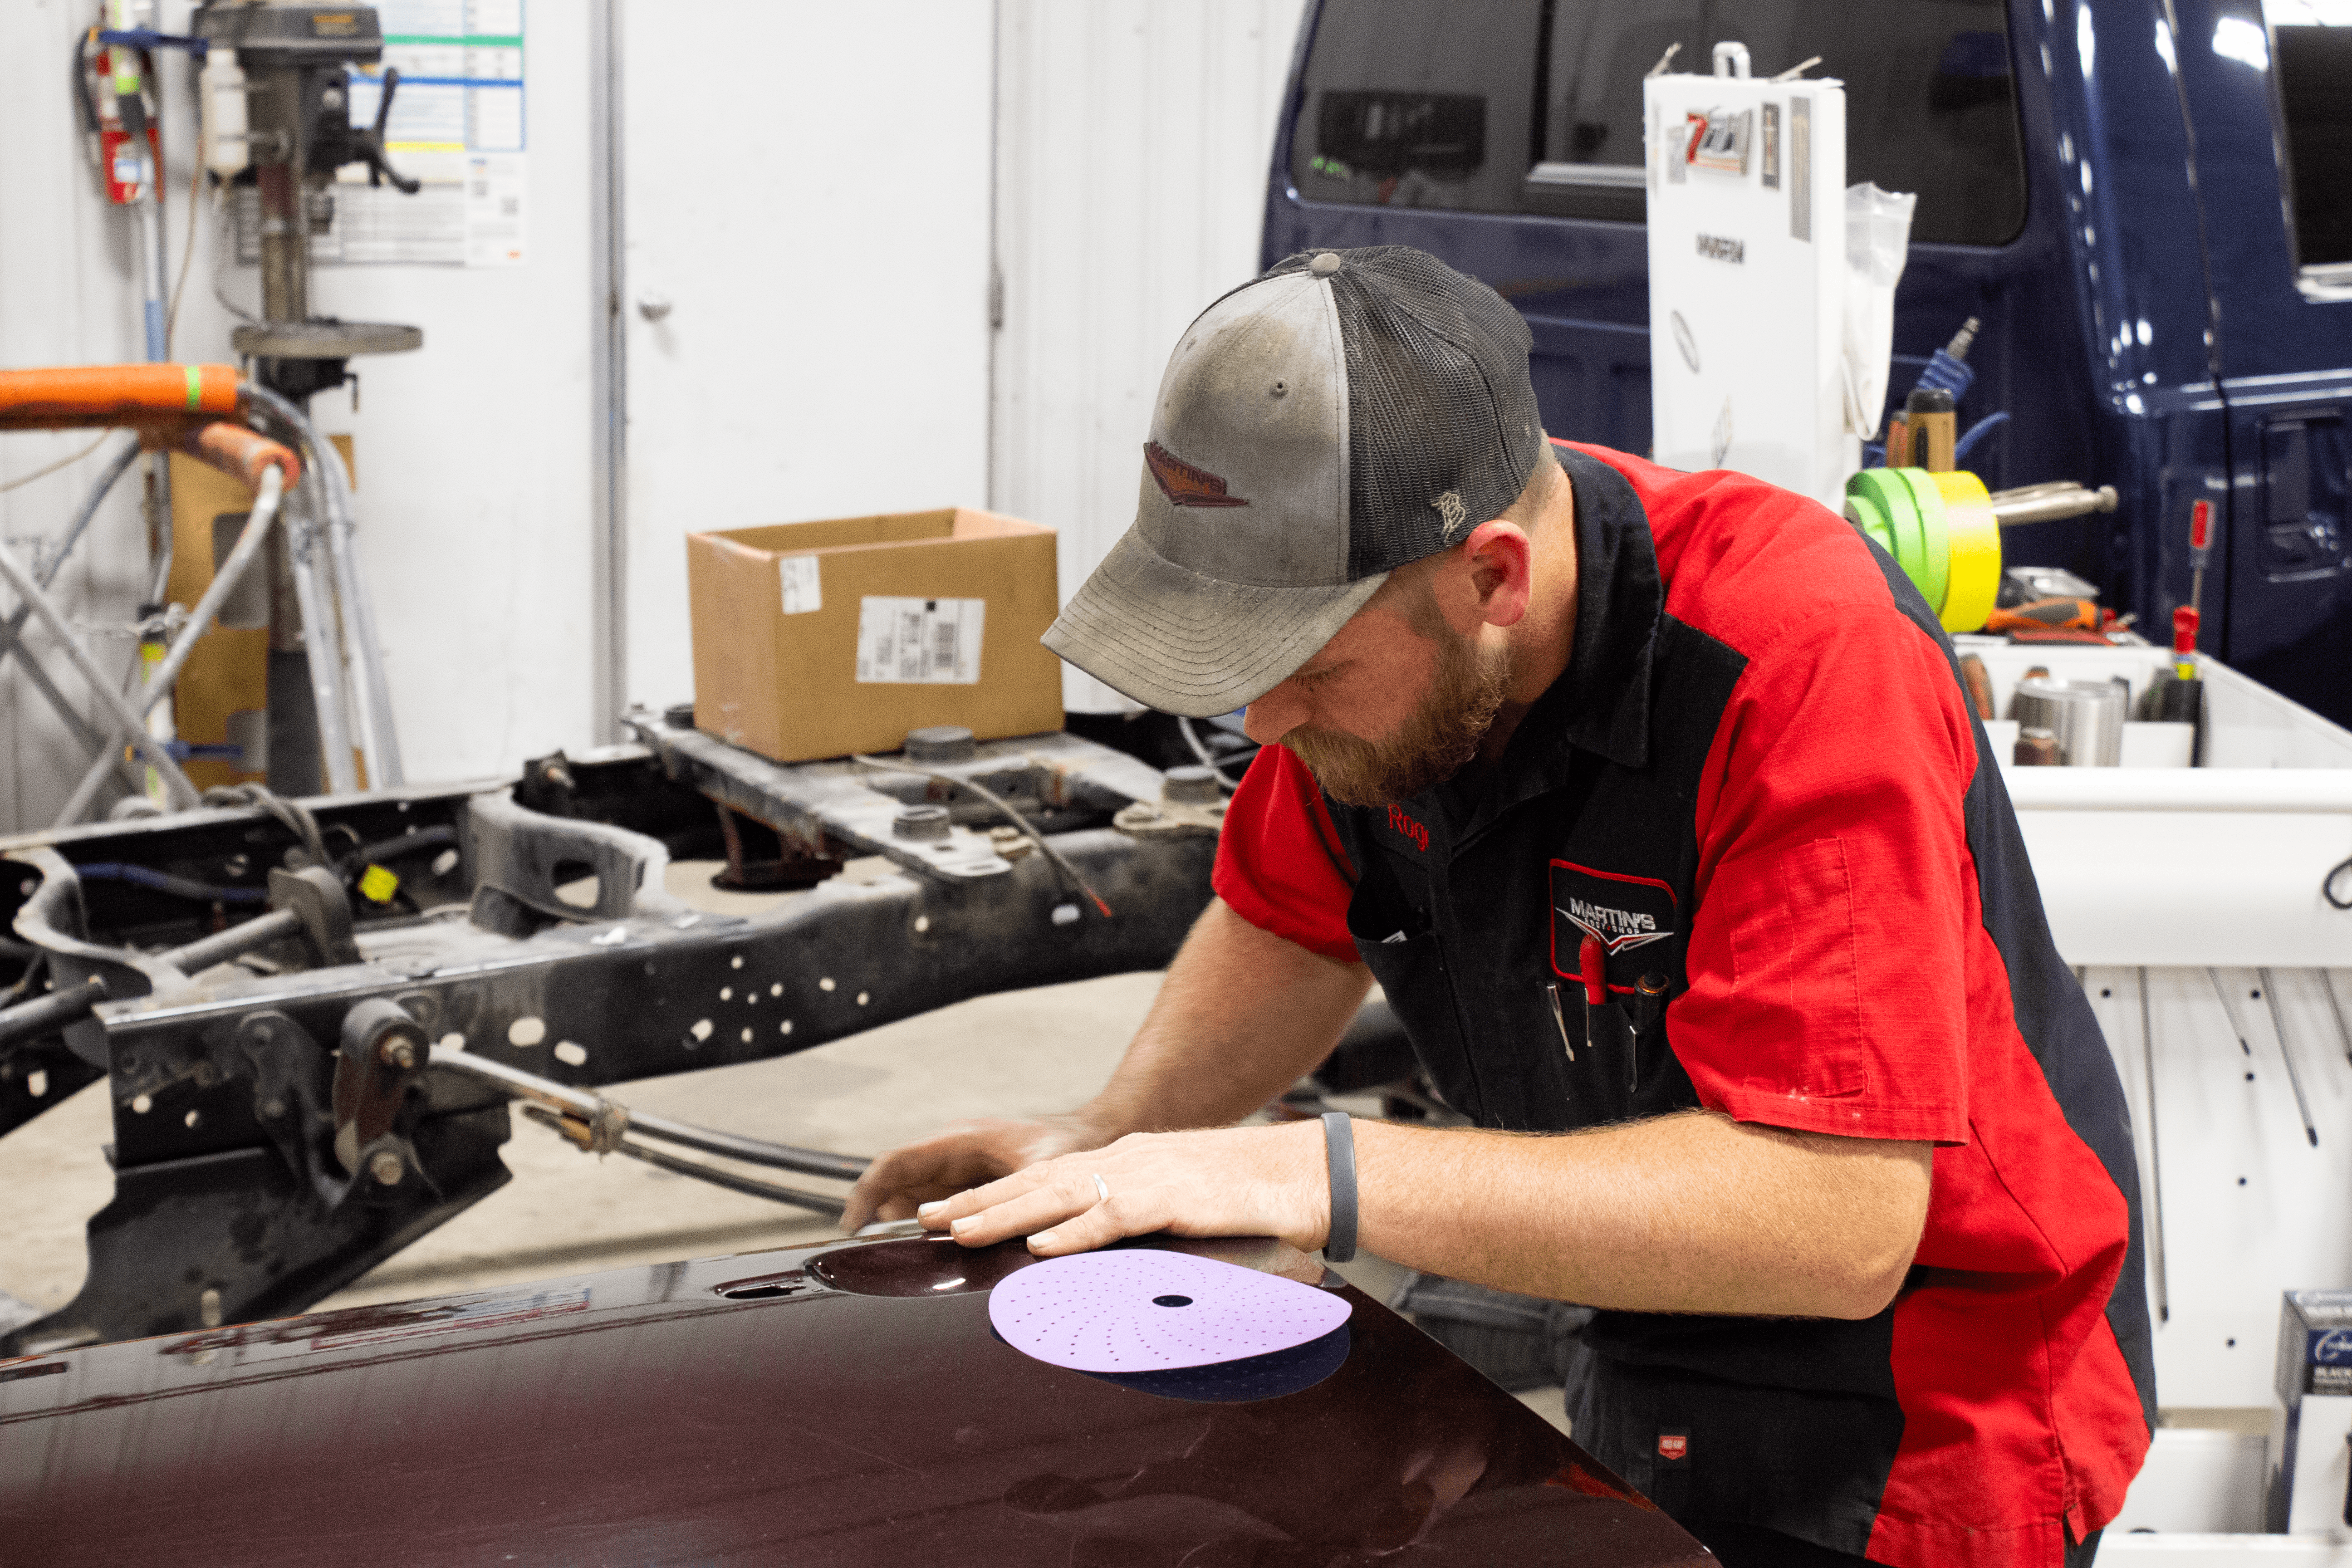
All necessary body work is done here. Panel repairs, structural repairs, mechanical repairs, safety equipment replacements and electrical repairs are all done in this stage. The critical piece of this stage is getting the repairs done that are necessary for refinishing. Some jobs (Large Repairs) will receive a customer update after this step.
Step 5 : Prime and Paint Prep
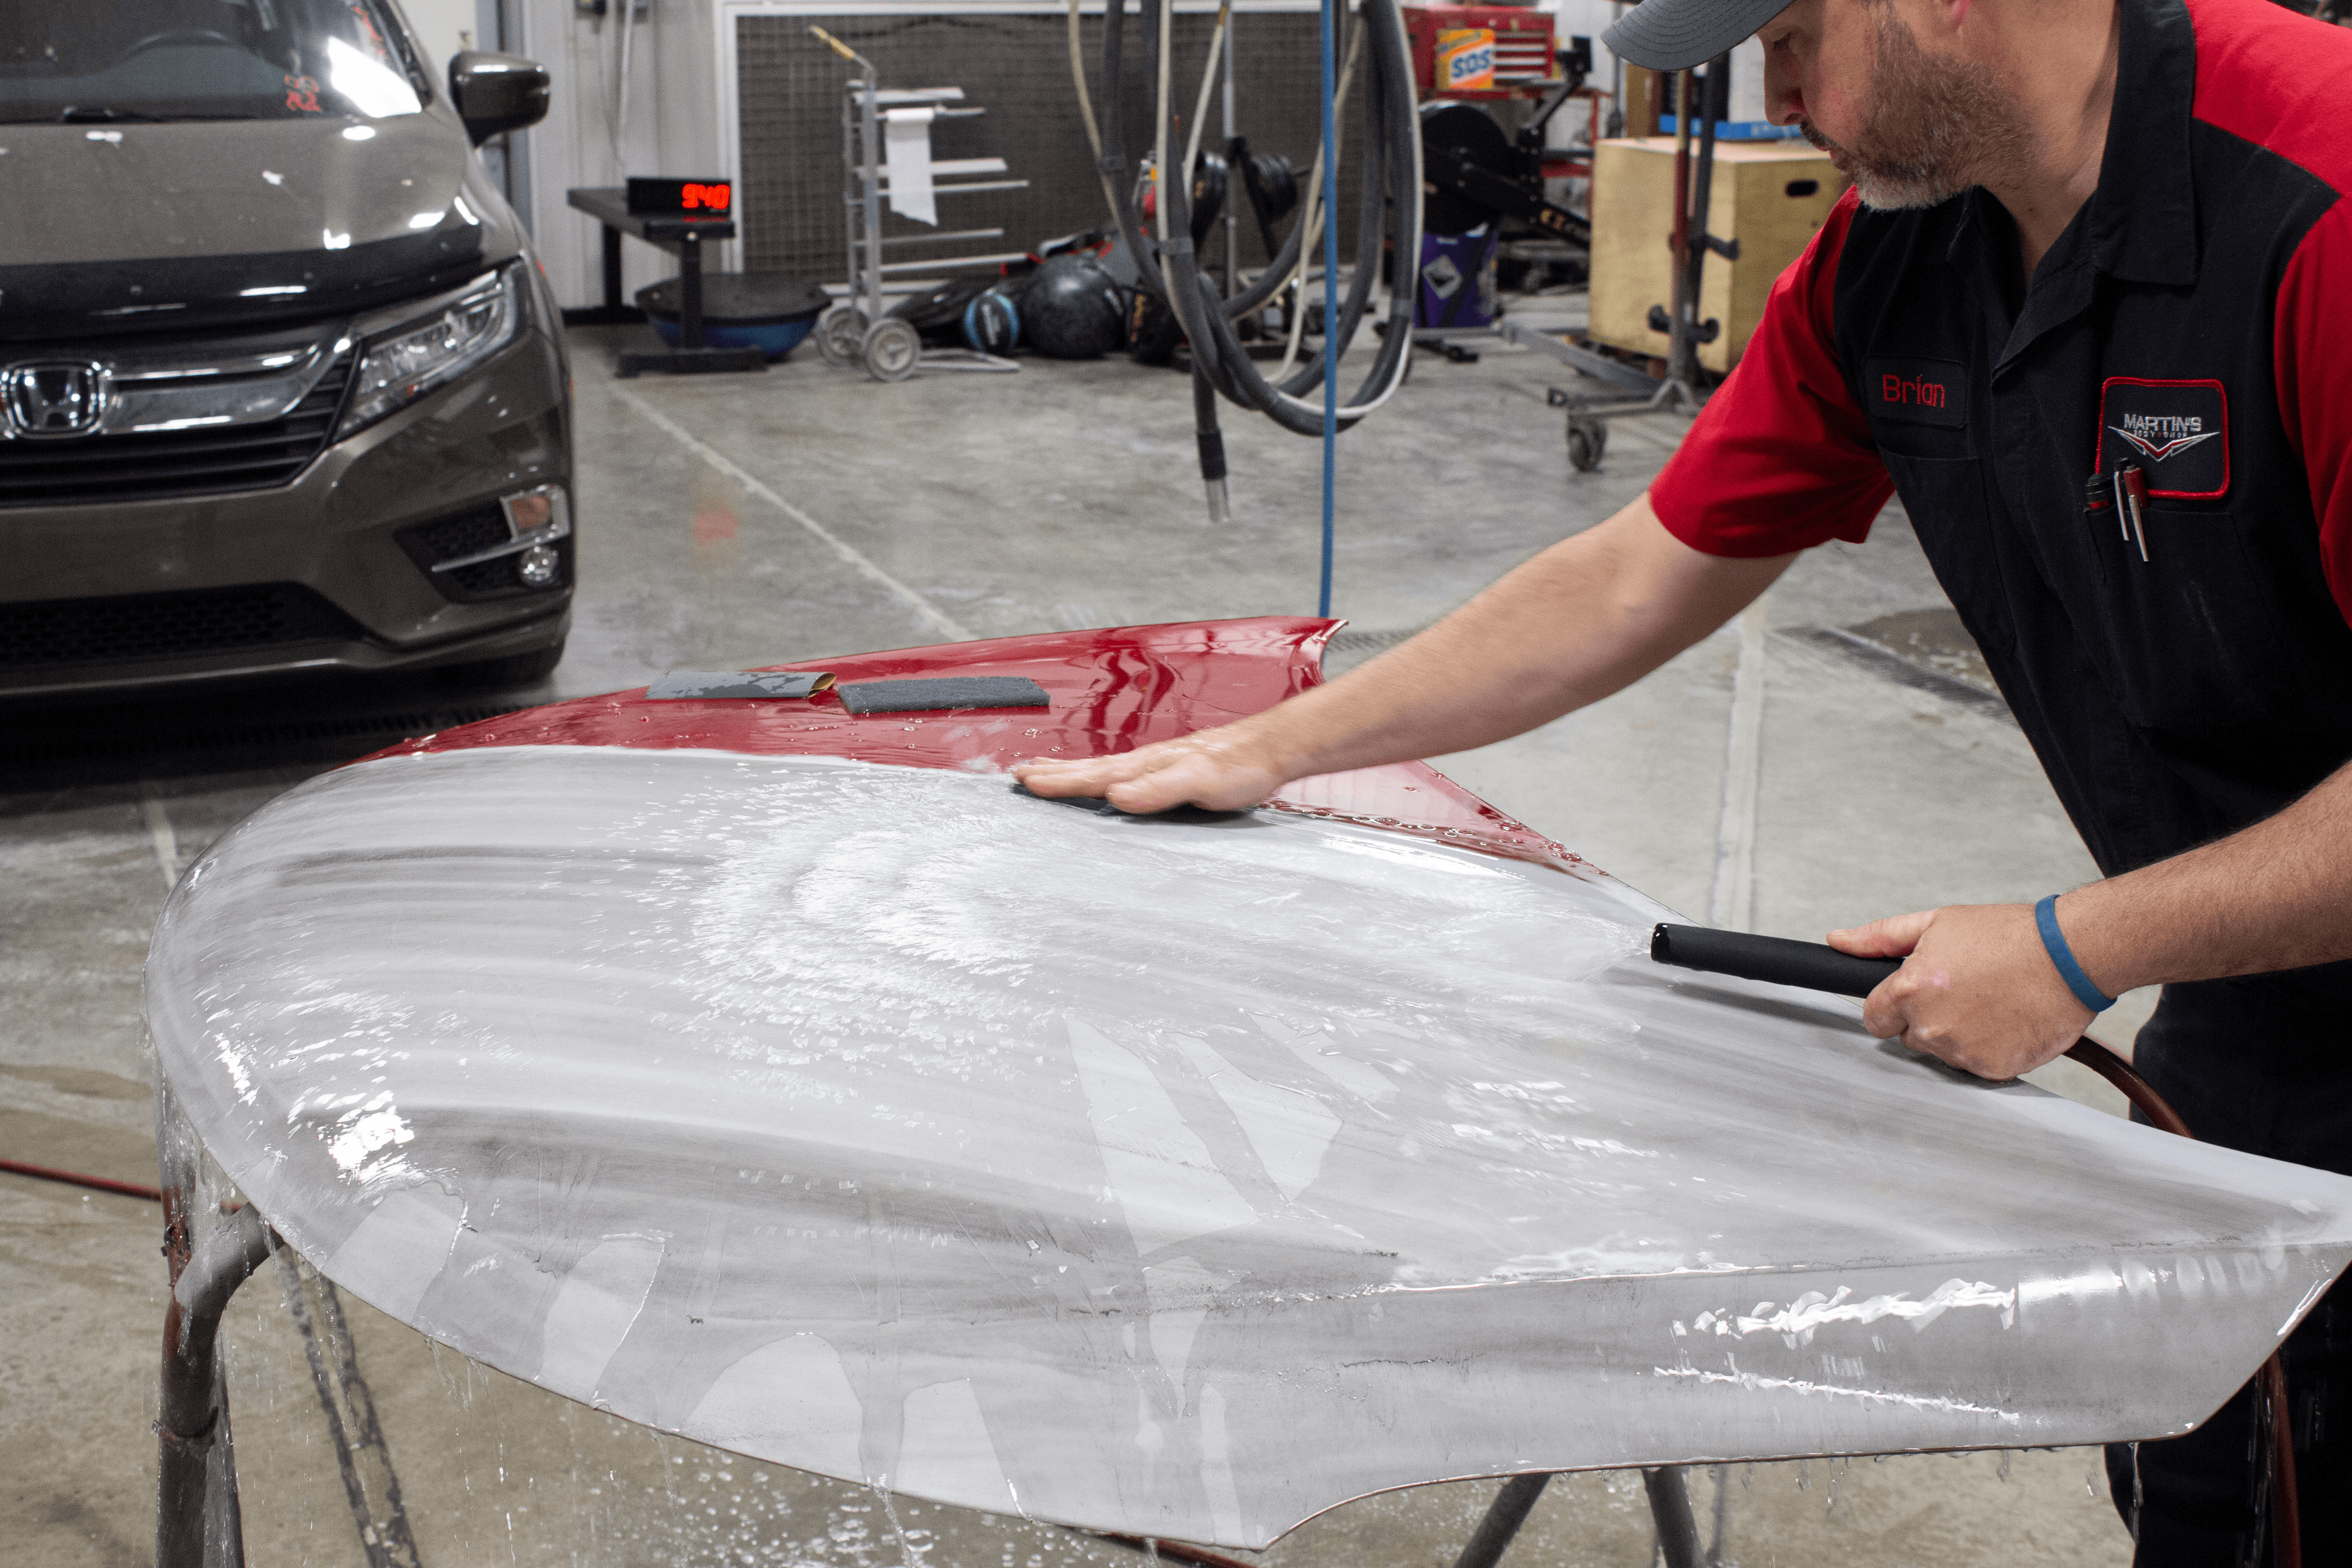
In this step parts that have been repaired get primer applied and other parts/panels get prepped for refinish.

Step 6 : Refinish
This is where paint is applied. Color match is verified, panels are masked, and the job moves into the spray booth to have paint applied. Once properly baked and cured, the jobs moves out of the booth and into a staging area for buffing before reassembly. A customer update is done after this stage.
Step 7 : Reassembly
Here we begin to put it all back together. Parts go back on the vehicle, electronics are reset, computer and safety systems are verified/calibrated, and wheel alignments are completed. Our technicians verify all fit and functions necessary for a successful repair. Lastly we do a Final Post Repair Scan to test ALL systems as required by each Vehicle Manufacture and a test drive is completed. Here we will let the vehicle owner know exactly when they can pick up.


Step 8 : Detail and Final Inspection
Here we clean the vehicle inside and out, all emblems and decals are installed, and the final Quality Inspection is done. The job is ready to be delivered once this step is complete.
Certified Repairs For You And Your Family’s Safety
Click here to get a free photo estimate!